Setting up Zapier Actions
Using DepositFix triggers in Zapier, you can easily automate actions like sending emails and notifications or updating external systems. This enables you to streamline your workflow by connecting DepositFix with other apps to enhance efficiency and communication.
Example 1: Update a Google Sheet When a New Order is Made
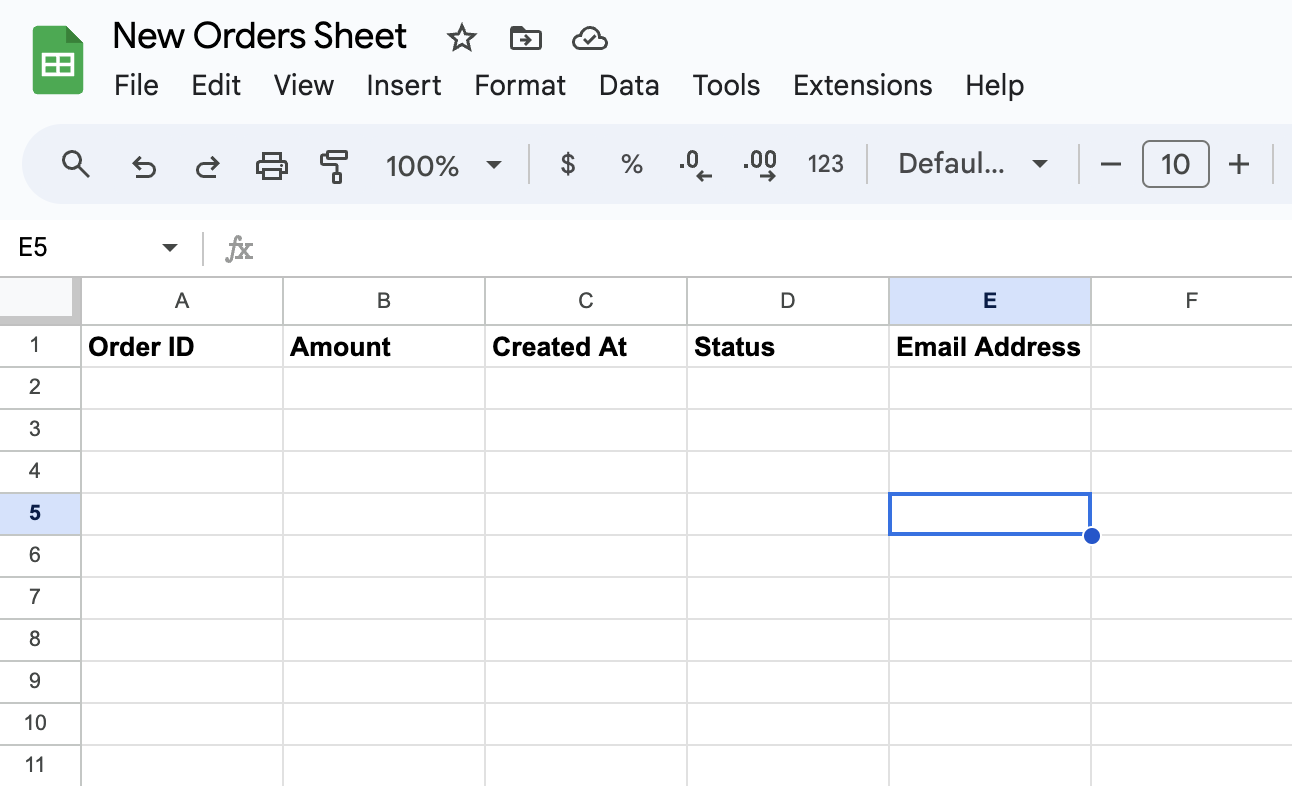
This example will update a Google sheet to create a new row, every time a new order is made. For this, we will create a new google sheet called New Orders Sheet and create order ID, amount, created at, status and email address as header columns.
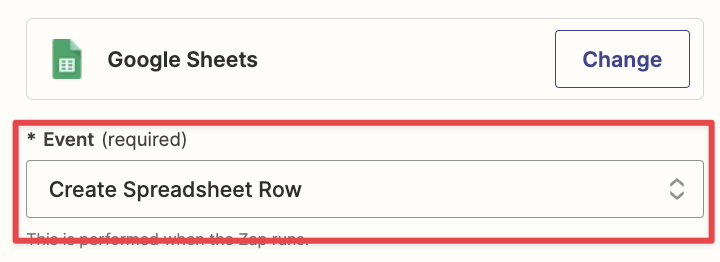
Select the Action App and Event: From the list of Zapier apps, select “Google Sheets” as the action app where the data will be sent, and select “Update Spreadsheet Row” as the event.
Next, we’ll need to connect your google account where the Google sheet is located.
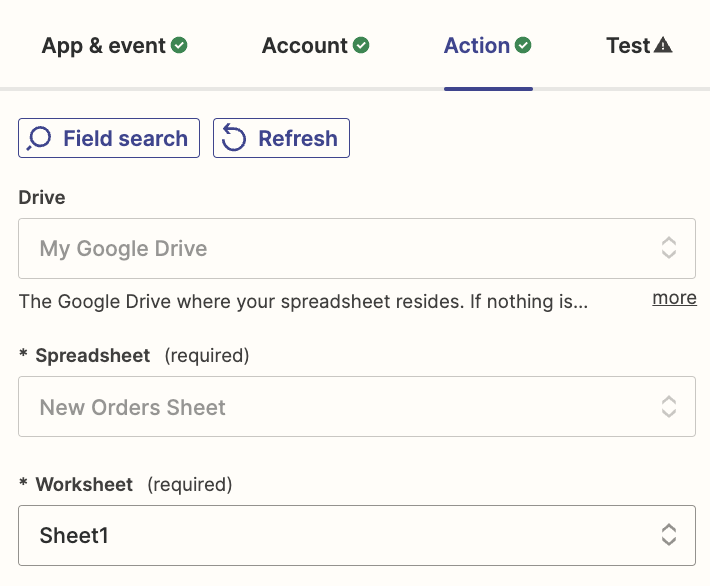
Map Data Fields: First, we need to select the Drive name, spreadsheet, and worksheet.
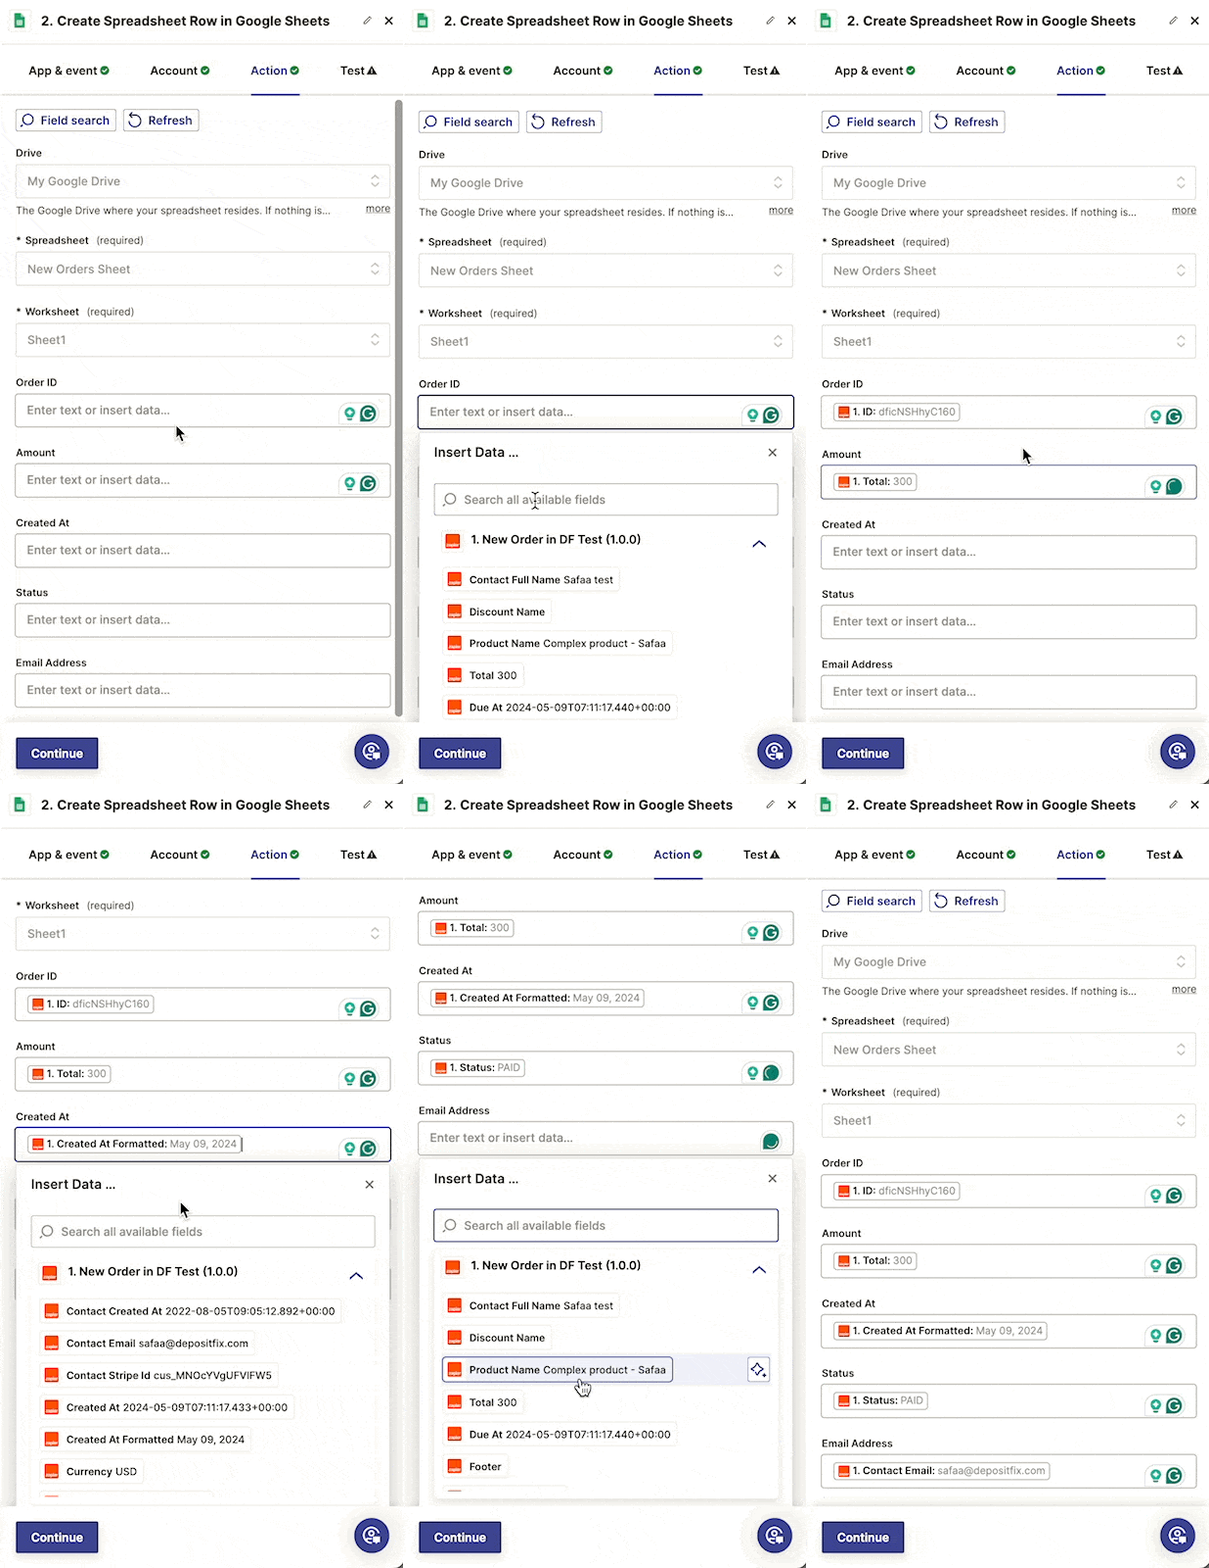
Next, Zapier will show all fields in the Google Sheet that we can fill with data from the DepositFix trigger app. All we need to do is map the appropriate fields from trigger data to the corresponding columns in the Google Sheet.
Test The Action: Now that we have configured the action, we need to test it to make sure that it updates the Google Sheet correctly with the trigger data. Before turning the Zap on.
To do this, click on Test Zap, and wait for Zapier to update. Now Let’s go back to the Googlesheet, and we can see that it has been updated with the correct information pulled in from the last record.
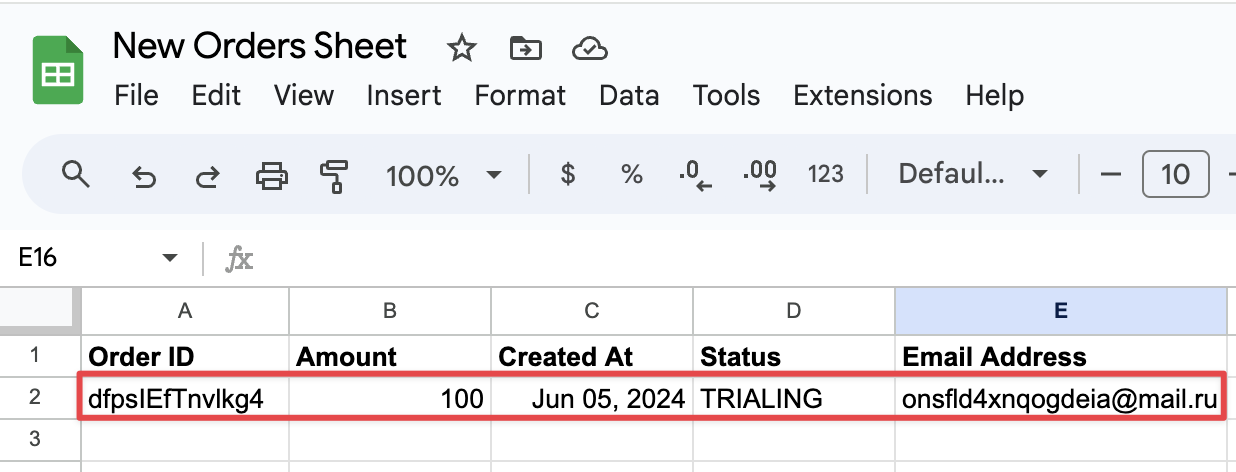
Example 2: Send an Email Notification a Subscription Payment Fails
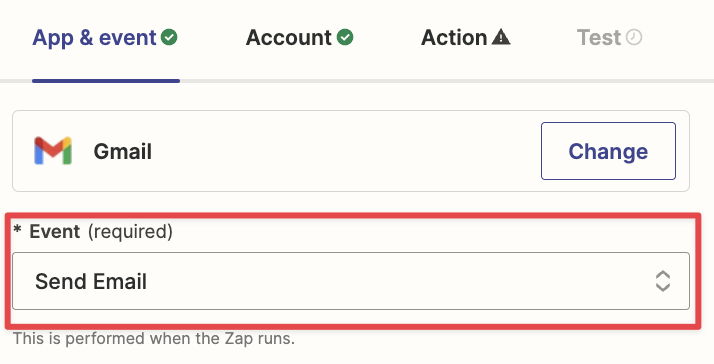
This example sends an email notification to the customer after their subscription payment fails. For this, we’ll select Gmail as the app, and Send Email as the action event.
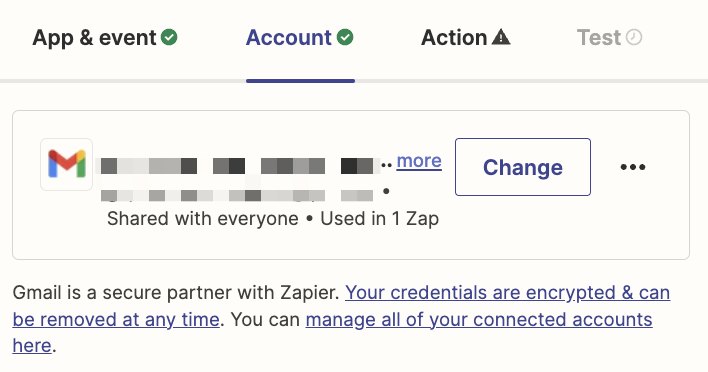
Next, we’ll need to connect your google account that you want to use to send emails.
Map Data Fields: Zapier will show all fields needed to send an email, that we can fill with data from the DepositFix trigger app. All we need to do is map the appropriate fields from trigger data to the corresponding columns in the Google action.
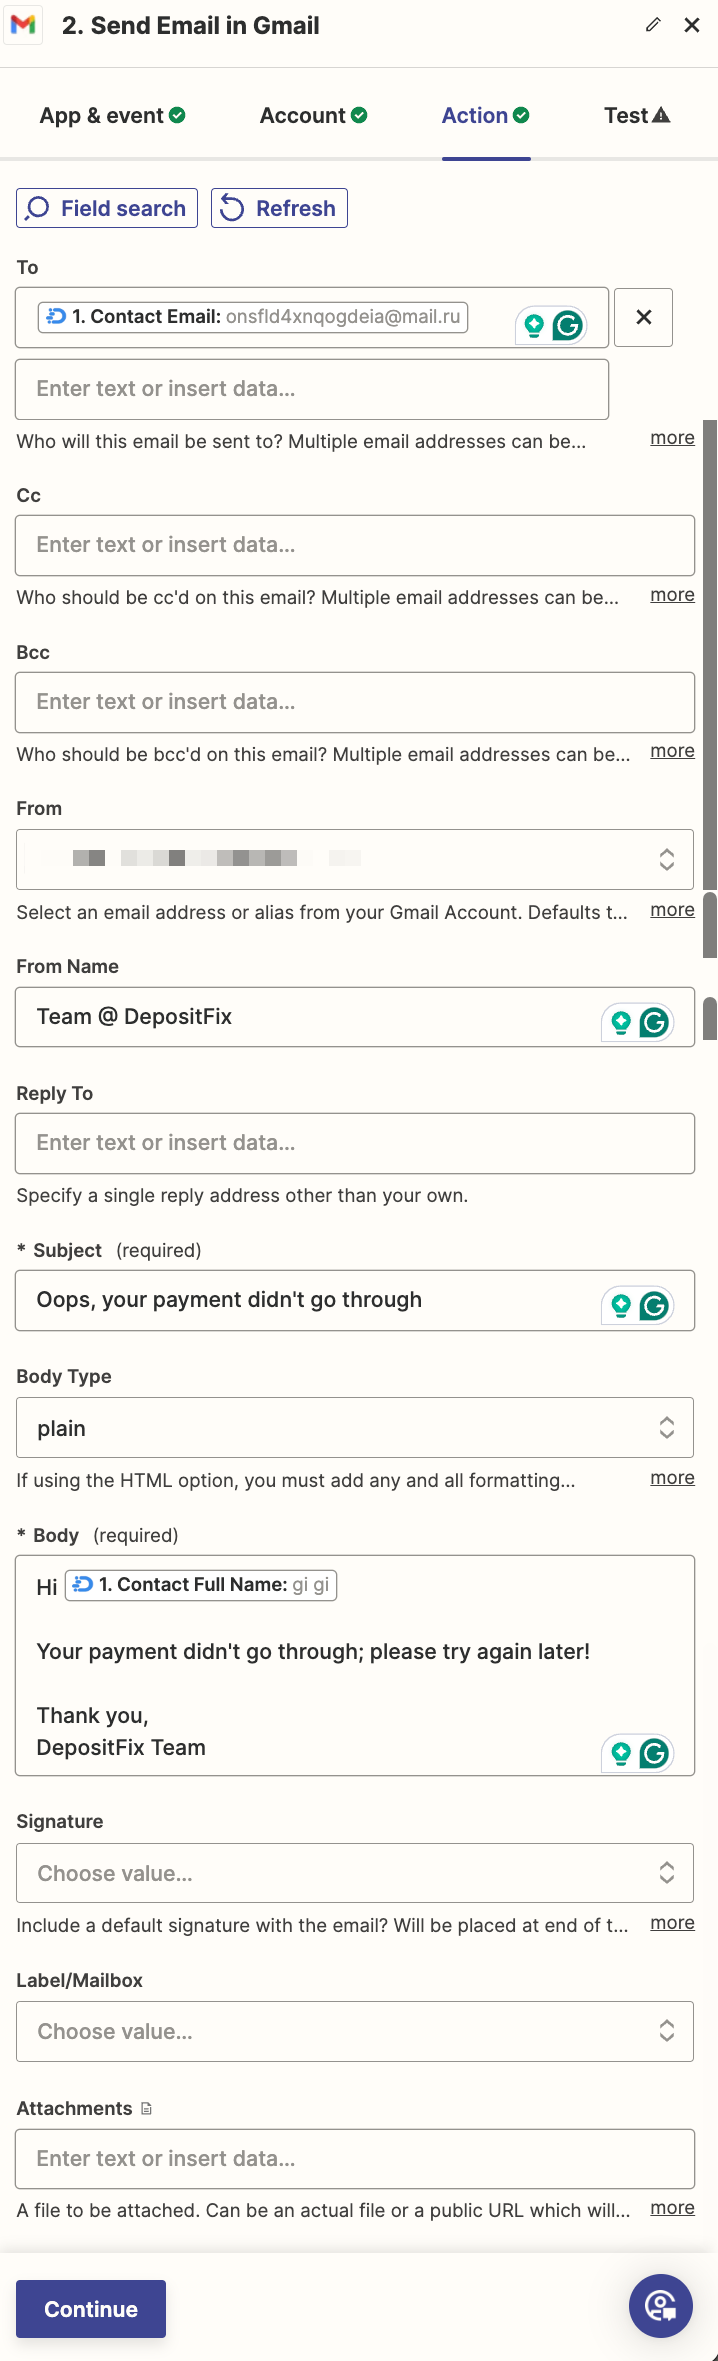
Test The Action: Now that we have configured the action, we need to test it to make sure that the email is populated with the the trigger data. Before turning the Zap on.
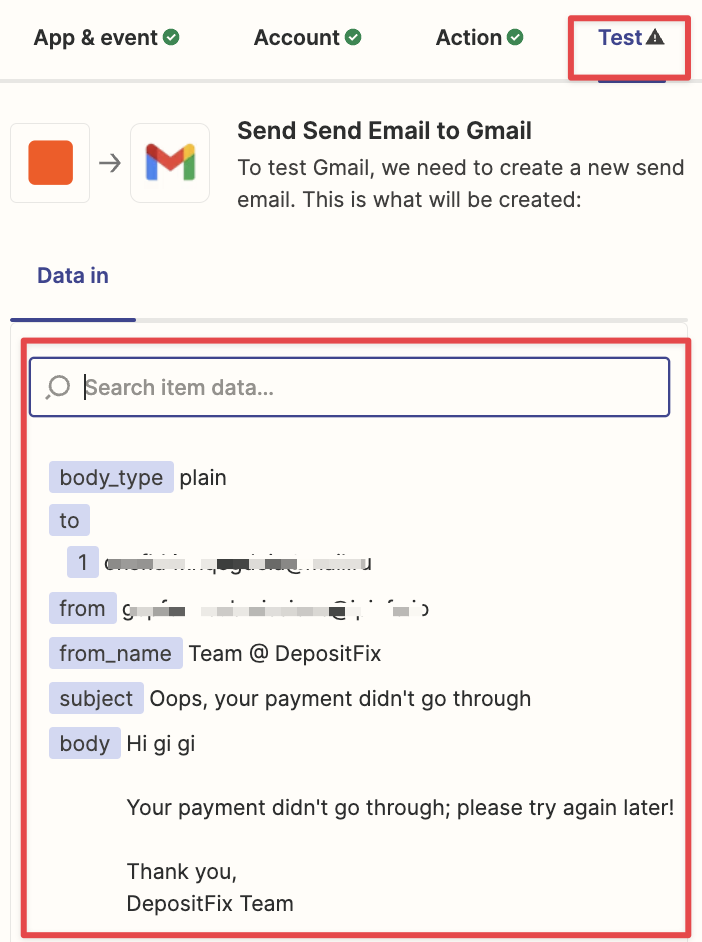
Now that we verified the data is correct, we can publish the zap!
Example 3: Update a Google Sheet When a New Subscription Payment is Made
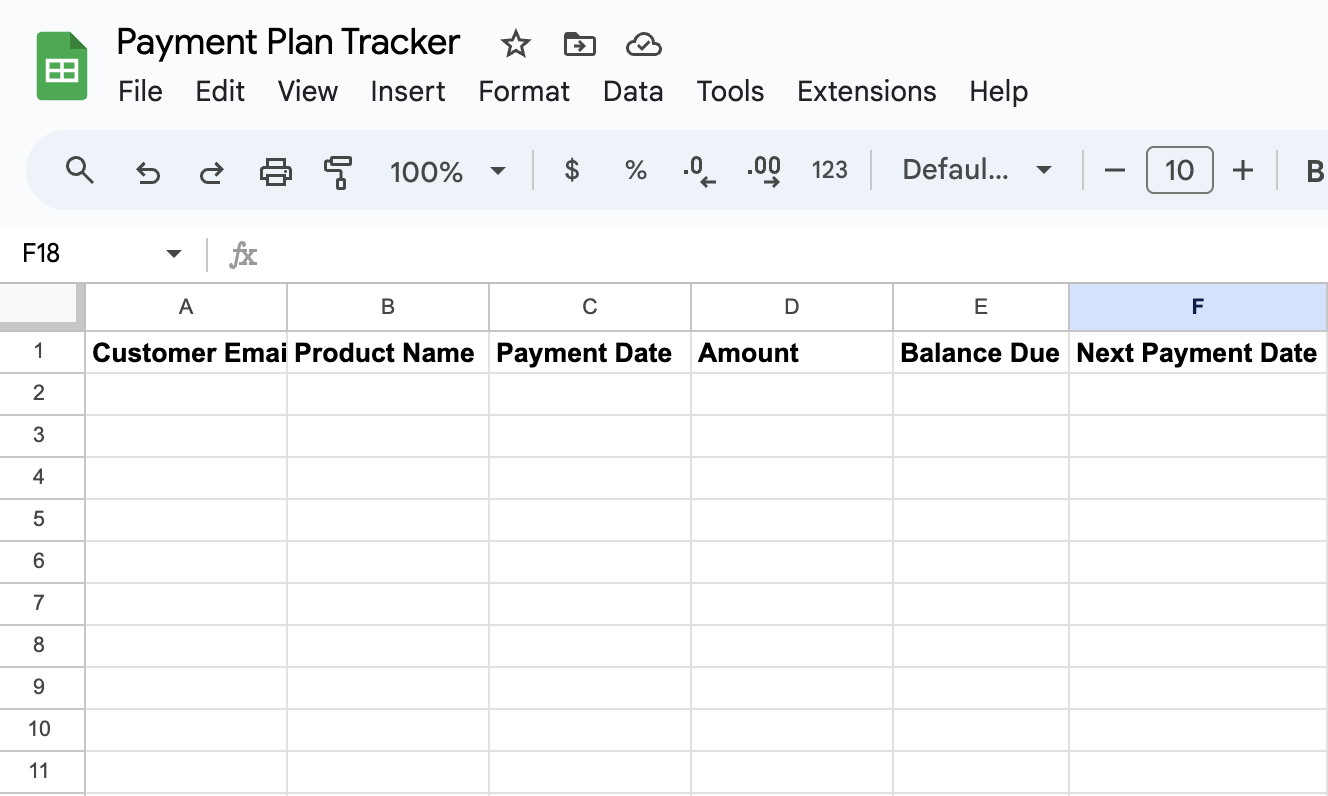
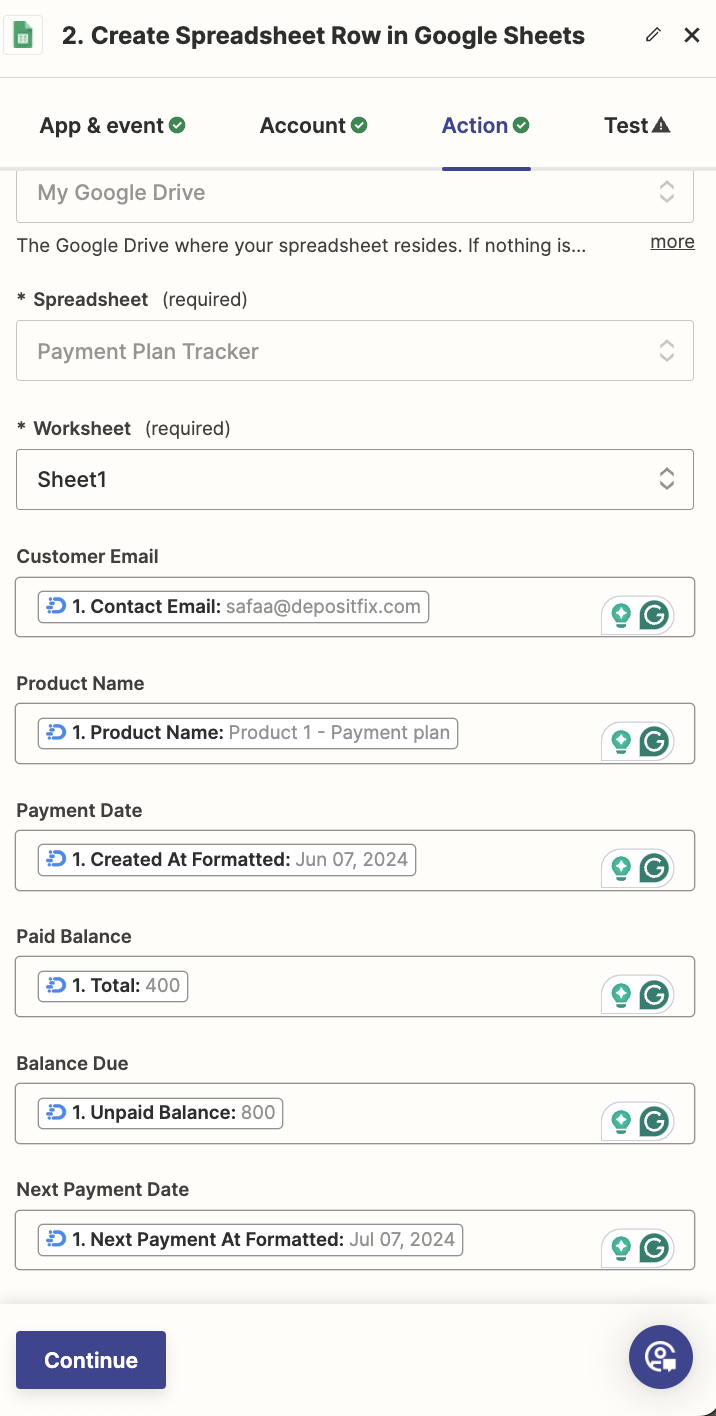
This example will update a Google sheet to create a new row, every time a new subscription payment is made. For this, we will create a new google sheet called Payment Plan Tracker and create Customer Email, Product Name, Payment Date, Amount, Balance Due, and Next Payment Date as header columns.
Select the Action App and Event: From the list of Zapier apps, select “Google Sheets” as the action app where the data will be sent, and select “Update Spreadsheet Row” as the event.
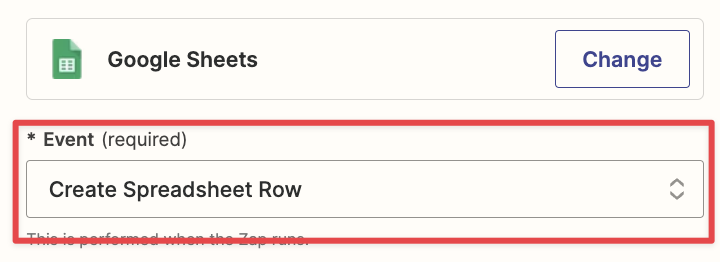
Next, we’ll need to connect your google account where the Google sheet is located.
Map Data Fields: First, we need to select the Drive name, spreadsheet, and worksheet.
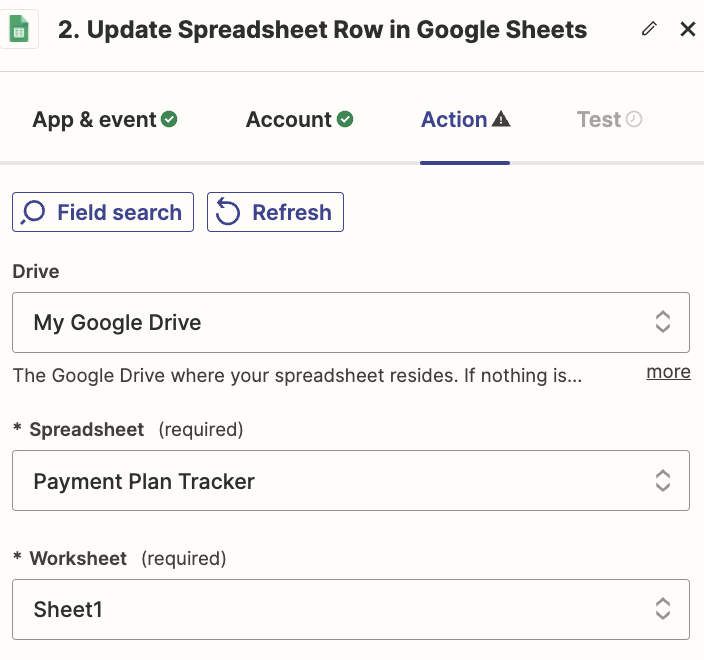
Next, Zapier will show all fields in the Google Sheet that we can fill with data from the DepositFix trigger app. All we need to do is map the appropriate fields from trigger data to the corresponding columns in the Google Sheet.
Test The Action: Now that we have configured the action, we need to test it to make sure that it updates the Google Sheet correctly with the trigger data. Before turning the Zap on.
To do this, click on Test Zap, and wait for Zapier to update. Now Let’s go back to the Googlesheet, and we can see that it has been updated with the correct information pulled in from the last record.
