Configuring QuickBooks Online
Connecting QuickBooks Online to DepositFix
-
Log in to your DepositFix dashboard.
-
Navigate to Settings > Integrations.
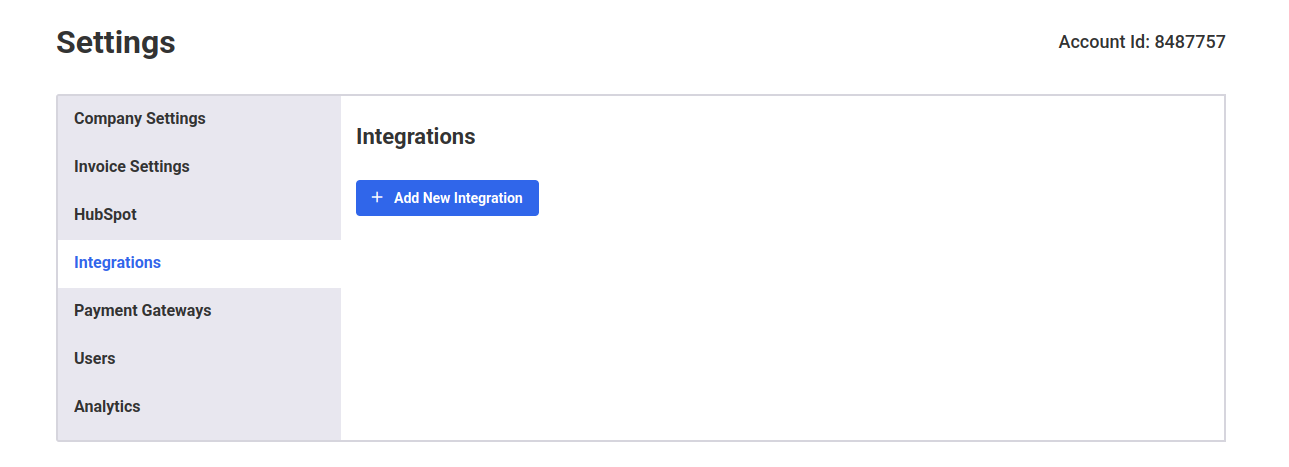
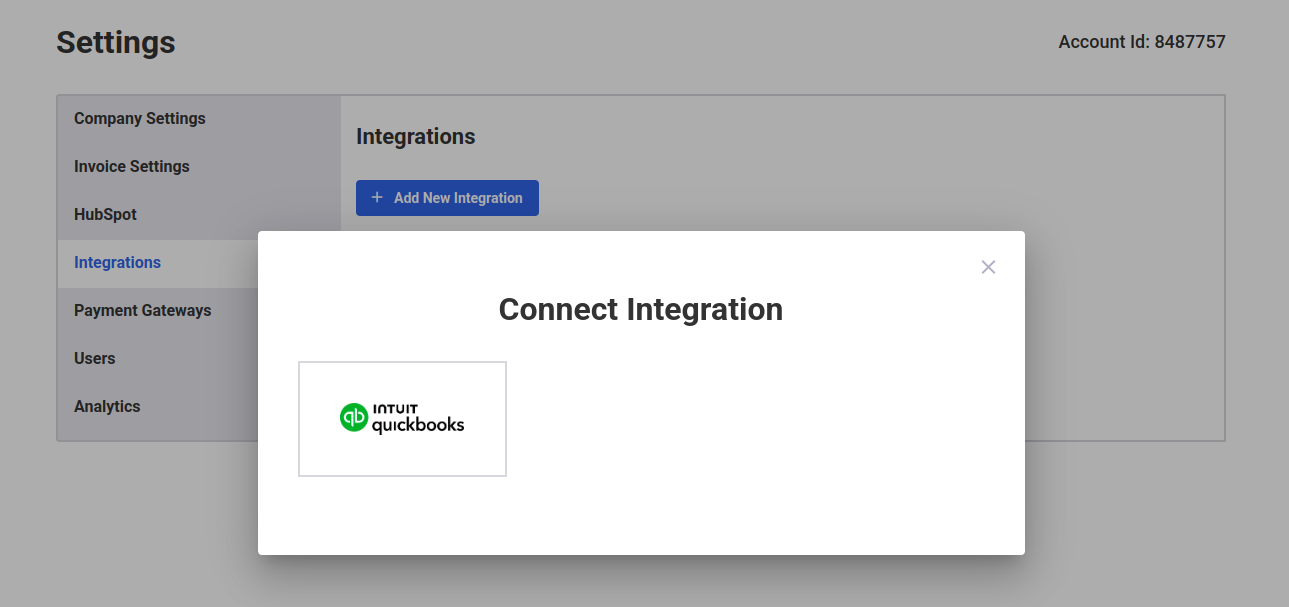
- Click QuickBooks Integration.
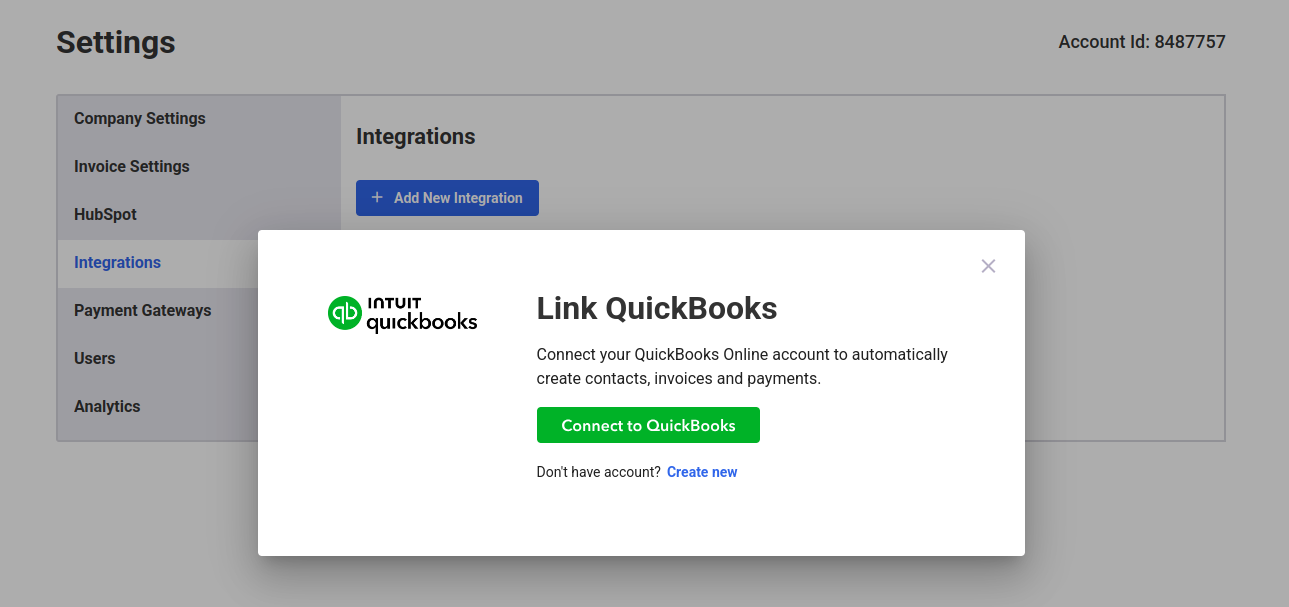
- Select Connect to QuickBooks.
-
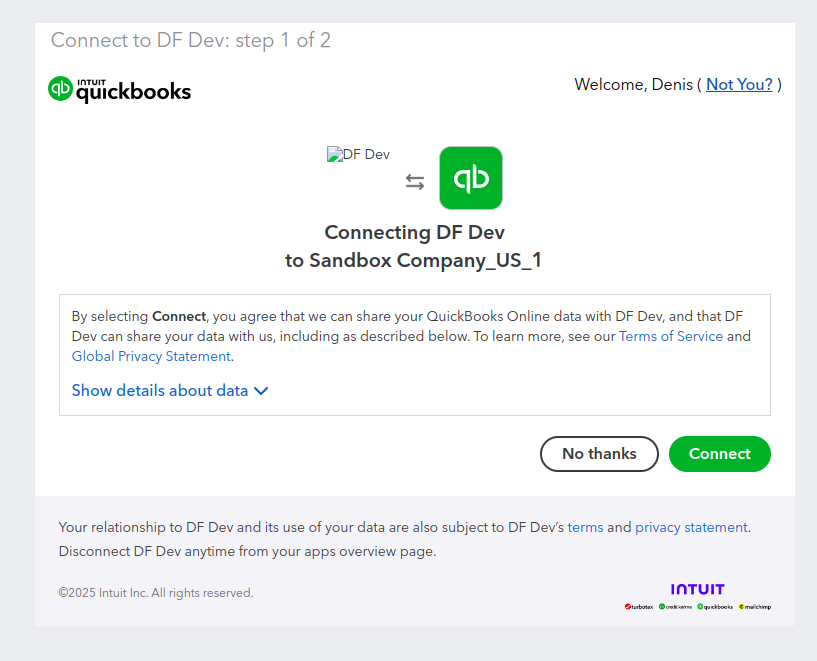
A new window will open prompting you to log in to QuickBooks Online.
-
Sign in with your QuickBooks Online credentials and select your company.
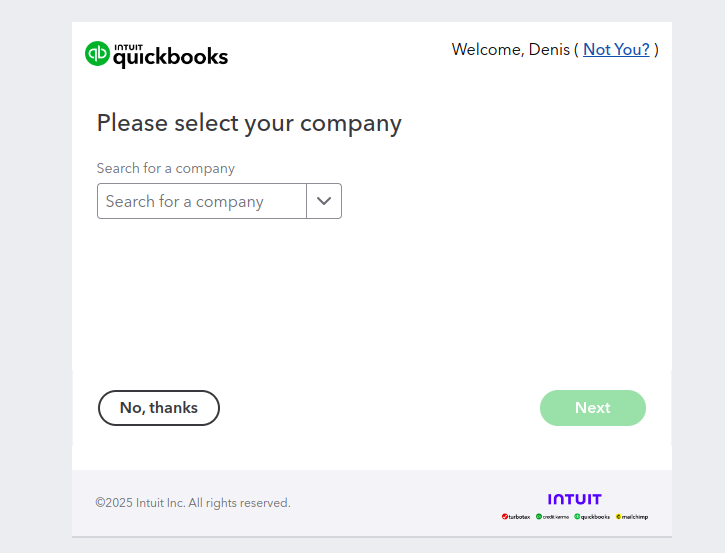
- Grant permission for DepositFix to access your QuickBooks Online data.
- Once connected, you’ll see a confirmation message in DepositFix.
Configuration Options
After connecting, you can configure:
-
Accounts Mapping – Map DepositFix payment items to the correct QuickBooks Online income accounts.
-
Customer Sync – Choose whether to automatically create new customers in QuickBooks when they are added in DepositFix.
-
Transaction Sync – Decide whether transactions should sync in real time or via daily batch updates.
Testing the Integration
-
Process a test payment in DepositFix.
-
Check QuickBooks Online to confirm the transaction appears under the correct account.
-
Verify customer details are synced.